
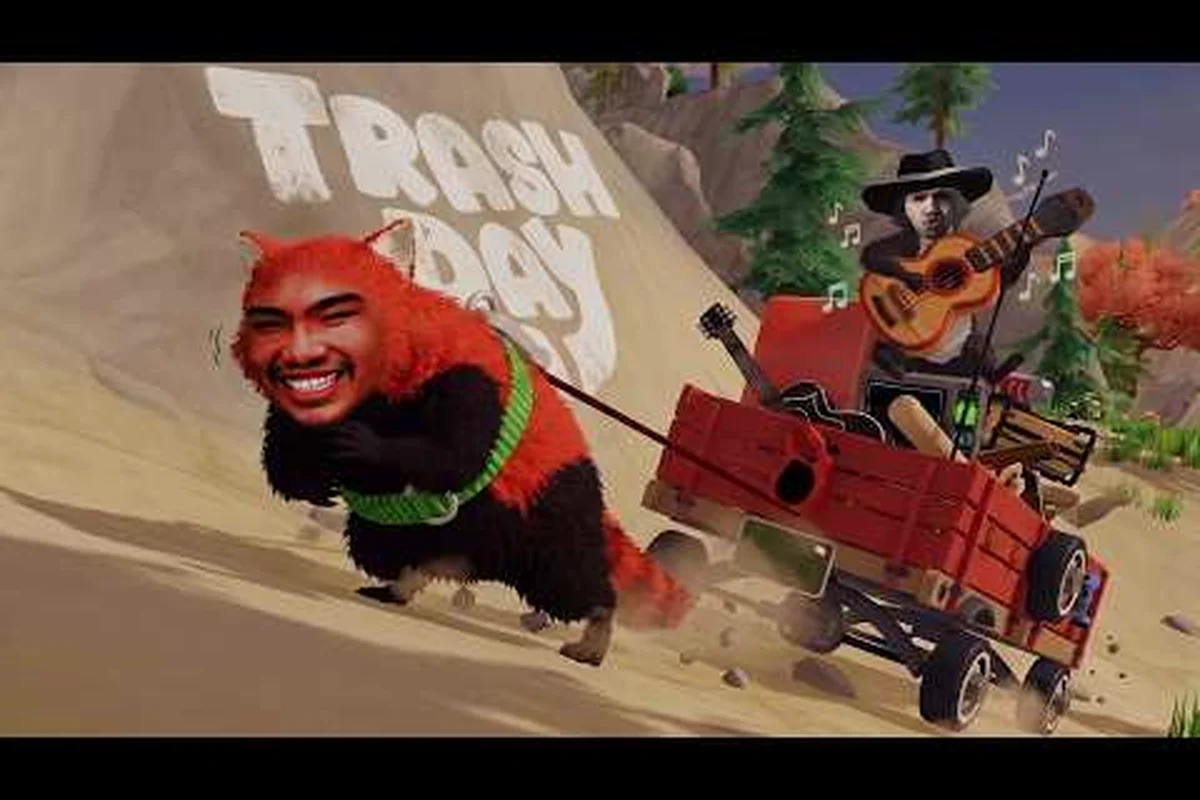
The Junkyard is where most Trash Day crews lose their first wagon, and a clean Junkyard walkthrough saves you the fifteen-minute reset loop that drags down co-op runs. This area hits you with two simultaneous problems: stacked cars blocking the main road, and a chain-link fence dotted with bear traps that any raccoon running ahead will absolutely spring. Knowing the layout, the timing windows, and the wagon-flip recovery trick is the difference between reaching the Park gate and watching your cargo scatter across the asphalt.
If you have not finished the Animal Control breakout yet, the Animal Control guide covers the wheel-recovery and fence-escape steps that set up your crew for the Junkyard. The developer, Off by One Games, released the title on October 13 2026 with Very Positive reviews on Steam, and community testing confirms the Junkyard as the most replayed section because of how punishing the traffic timing is for new crews.
Junkyard Layout, Hazards, and the Optimal Entry Path
The Junkyard occupies Area 2 of the six-area route toward Raccoon Paradise, and it is the first level where the physics engine stops forgiving you for bad wagon handling. Players confirm three persistent threats: traffic on the main avenue, bear traps around the southern fence, and uneven scrap piles that can flip your wagon if you push it sideways. Reading the layout before you commit your crew saves a run.
Map Zones at a Glance
| Zone | Surface | Primary Hazard | Crew Role |
|---|---|---|---|
| Entry Gate | Asphalt | Welcomed by NPC raccoons | Wagon driver + 1 spotter |
| Main Avenue | Paved road with potholes | Moving car traffic (4 lanes) | 2 spotters, 1 driver |
| Scrap Piles | Mixed dirt + metal | Uneven bumps, soft physics | 2 lifters, 1 driver |
| Bear Trap Fence | Chain-link perimeter | Spring-loaded traps | 1 disarmer + 1 spotter |
| Exit Ramp | Slope with debris | Momentum drift | Full-crew push |
The Main Avenue is the kill zone for first-time crews. Cars roll in roughly 8 to 12 second waves depending on the server tick, and community testing suggests the gap widens when more than four players are connected. Your driver needs a clear line of sight to both ends of the road, which is why the spotter role is not optional.
Entry Path Strategy
The recommended entry path sends two raccoons ahead to scout traffic, one stays at the wagon, and one hangs back to handle any stray items the wagon shakes loose. Skip the side alleys on your first run, even if they look like shortcuts. The alleys hide scrap piles tall enough to flip a fully loaded wagon, and recovering from a flip costs more time than walking the long way around.
-
Scout (Player 1 and 2): Run the avenue 15 seconds before the wagon moves; mark safe crossing windows with a bark call.
-
Driver (Player 3): Stay mounted on the wagon, ready to brake or accelerate on the spotter's signal.
-
Sweeper (Player 4): Follow 5 meters behind; collect any trash that bounces off during transit.
Traffic Timing and the Bear Trap Fence
Traffic and bear traps are the two mechanics that wipe crews hardest, and they hit on opposite sides of the Junkyard. The avenue runs north to south and the bear trap fence sits along the southern perimeter, which means a crew that solves traffic but ignores traps will arrive at the exit with a limping wagon and a missing wheel. Reading each mechanic separately, then combining them into one timing plan, is the only reliable approach.
Traffic Wave Reading
The traffic in the Junkyard is not random; it follows a wave pattern that community data has mapped within a half-second margin. The wave resets every time a raccoon crosses the avenue, which means you can stagger crossings to widen the safe window. The pattern, based on community testing, looks like this:
| Cross Number | Approximate Gap (seconds) | Recommended Crew Position |
|---|---|---|
| 1st | 10-12 | Full crew on the wagon |
| 2nd | 8-10 | Driver + sweeper cross, scouts hold |
| 3rd | 6-8 | Single raccoon, low risk |
| 4th | 4-6 | Do not cross; wait for reset |
The 4th gap is the trap. New crews see the green light and sprint across, then watch a truck roll through and scatter their cargo. If you are not across by the 3rd wave, hold position and let the cycle reset.
Bear Trap Disarm Order
Bear traps on the southern fence follow a consistent spawn pattern: two traps near the corner post, one at the midpoint, and one near the exit gate. The corner traps are the most dangerous because they face the avenue and catch raccoons sprinting toward the exit. According to the official store page, the traps are part of the same physics system that handles the wagon, which means a raccoon that steps on one will ragdoll and lose the item they were carrying.
| Trap Position | Threat Level | Disarm Priority | Tool Needed |
|---|---|---|---|
| Corner (East) | High | 1st | Plank (any raccoon) |
| Corner (West) | High | 2nd | Plank (any raccoon) |
| Midpoint Fence | Medium | 3rd | Bungee cord to trigger safely |
| Exit Gate | Low | 4th | Skip on first run; jog wide |
If your crew does not have planks, the bungee cord trick works as a backup. Stretch the cord across the trap's pressure plate from a safe distance and let the trigger fire into the cord instead of your raccoon's leg. Community data confirms this works on every trap in the Junkyard, though it takes longer than a clean plank disarm.
Wagon Handling, Cargo Recovery, and Flip Recovery
The Junkyard is where wagon handling stops being intuitive. The uneven ground, the tight corners, and the trap fence all push your wagon physics in directions that surprise new drivers. Knowing when to push, when to brake, and when to abandon the wagon and recover cargo by hand is the difference between a clean run and a reset.
Push vs Pull on Uneven Ground
| Surface | Best Technique | Crew Size Needed | Risk if Wrong |
|---|---|---|---|
| Asphalt | Pull from front | 1 driver + 1 spotter | Low |
| Scrap piles | Push from rear | 2 pushers + 1 spotter | Wagon flip |
| Slope (debris) | Two-front, one-rear | 3 raccoons minimum | Momentum runaway |
| Trap fence line | Braked roll | 1 driver only | Trap injury |
The scrap pile rows are where most flips happen. Pushing from the rear on uneven ground lifts the front wheels, and the physics engine treats that as a tip event. If you have to cross a scrap pile, position a raccoon on each side of the wagon at the midpoint to stabilize the bed while the rear pusher moves forward. This three-point contact pattern is what experienced crews use, and it is the only reliable way to cross the central scrap heap without flipping.
Flip Recovery Step-by-Step
A flipped wagon is recoverable, but the recovery window is short. The cargo stays glued to the wagon bed, but the wagon itself respawns at the last checkpoint after about 90 seconds if no raccoon interacts with it. Community testing puts the real recovery time closer to 60 seconds for a four-raccoon crew working together.
-
All four raccoons position at the high corner of the tipped wagon.
-
One raccoon climbs onto the underside and jumps in place to add weight.
-
The other three push downward and outward simultaneously on the count of three.
-
Once the wagon is back on three wheels, the driver remounts and the sweeper checks for scattered items.
The jump-on-underside step is the one crews skip most often, and it is the most important. Without the added downward weight, three raccoons pushing on a tipped wagon can hold it in place but rarely flip it back. The trick is counterintuitive because it looks like the jumping raccoon is wasting time, but the physics boost is what completes the recovery.
Crew Roles, Voice Comms, and the Cleanest Exit
The Junkyard rewards crews that assign roles before the wagon enters the area, not after. Voice comms matter more here than in any other area except the River, because the traffic and trap timing windows are too tight for text chat. The cleanest exit through the southern gate requires the crew to function as a single coordinated unit, with each raccoon owning one job and only one job.
Recommended Role Assignment
| Role | Primary Job | Secondary Job | Why It Matters |
|---|---|---|---|
| Driver | Mount the wagon, steer | Brake on scout signal | Owns momentum |
| Scout A | Run ahead, read traffic | Mark trap positions | Owns timing |
| Scout B | Run ahead opposite side | Watch for cargo bounce | Owns safety net |
| Sweeper | Follow wagon, collect drops | Assist flip recovery | Owns cargo |
If your crew is running with only three raccoons, fold Scout B into the Sweeper role. The downside is you lose one set of eyes on the trap fence, so the Driver should slow the wagon by 20% whenever the Sweeper falls more than 5 meters behind. Two-raccoon crews can clear the Junkyard, but only by leaving half the cargo behind and pushing the wagon through the back alleys. Community data on the Animal Control guide confirms that two-raccoon play is a challenge mode, not a recommended path.
Exit Ramp Execution
The exit ramp is the final test. It slopes downward toward the gate that leads to the Park, and the momentum from the descent is enough to push a fully loaded wagon past the gate if the Driver brakes correctly. The Driver should feather the brake for the first half of the ramp, then release for the second half to let the wagon roll. Holding the brake through the entire ramp stalls the wagon at the gate, which is the single most common reason crews reset at the last second.
-
Feather brake: First 50% of the ramp, light pressure.
-
Release: Last 50% of the ramp, let gravity carry the wagon.
-
Spotter call: Bark once the front wheels cross the gate line.
-
Sweeper action: Run ahead and confirm the Park entrance is clear before the wagon commits.
If you are transitioning into the Park, the next area has its own set of mechanics. The Park walkthrough covers the lily-pad crossings and the picnic table gauntlet, which is a different kind of challenge from the Junkyard's traffic and traps.
Frequently Asked Questions
How many areas are in Trash Day?
There are six areas in total on the route to Raccoon Paradise, and the Junkyard is the second one. The full sequence is Animal Control, the Junkyard, the Park, the Convenience Store, the Construction Site, and finally the River.
How many levels does Trash Day have?
Six main areas function as the levels, with each area acting as a self-contained physics sandbox. Community data confirms the count matches the six banners on the in-game map screen, and the official store page lists the same six destinations on the route to Raccoon Paradise.
What is the hardest part of the Junkyard walkthrough in Trash Day?
The Main Avenue traffic crossing is the most common wipe point, and the bear trap fence is the second. Both become manageable once your crew assigns a dedicated scout and reads the 8 to 12 second wave gap before committing the wagon.
Can I skip the Junkyard in Trash Day?
No, the Junkyard is a required area on the route. Skipping is not an option, though you can take the back alleys instead of the main avenue, which trades speed for safety. Most crews find the main avenue faster once they learn the wave timing.
Does the Animal Control guide cover the Junkyard?
The Animal Control guide covers the breakout and the wagon acquisition that happens before the Junkyard, while this walkthrough picks up at the Junkyard entry gate. If you have not yet escaped Animal Control with a functional wagon, start there before attempting the Junkyard.